Back

Discover CALS

See how our current work and research is bringing new thinking and new solutions to some of today's biggest challenges.

Remote Desktop - PC

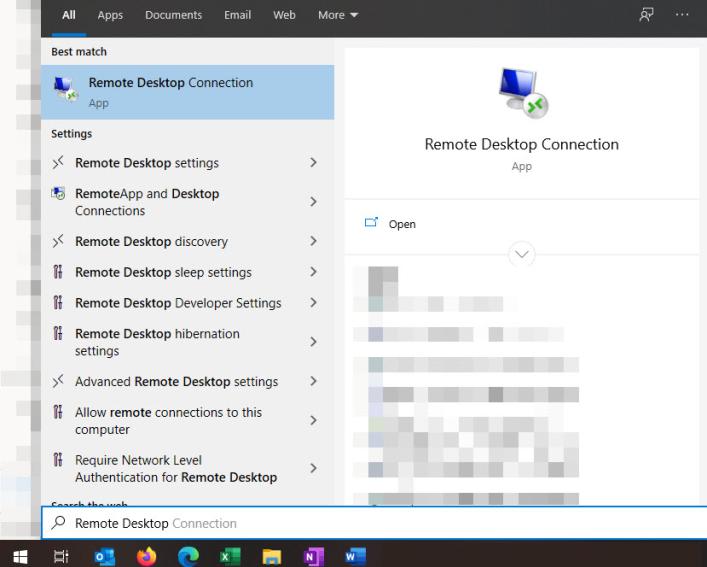
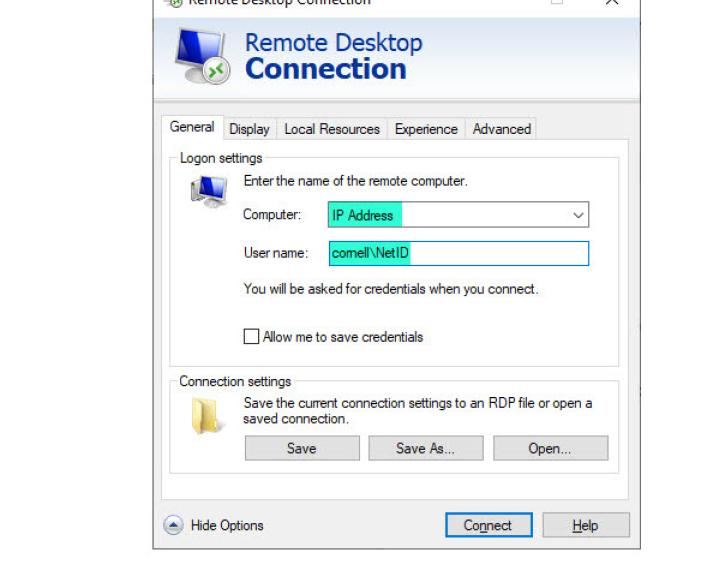
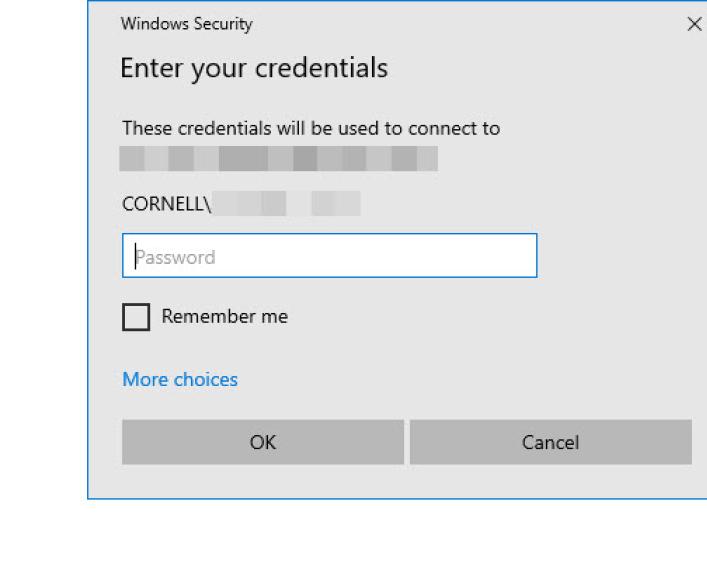
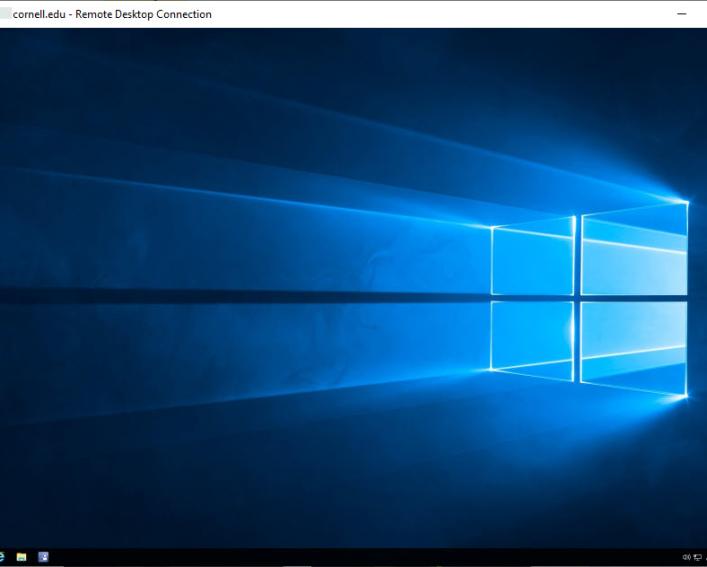
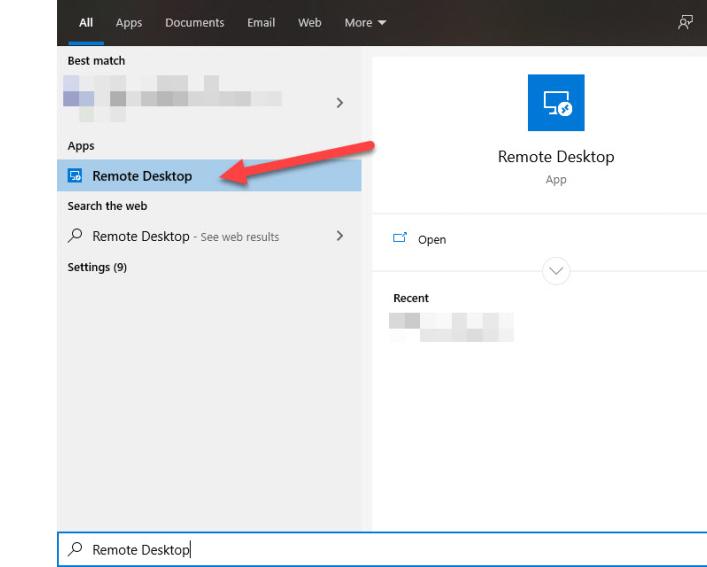
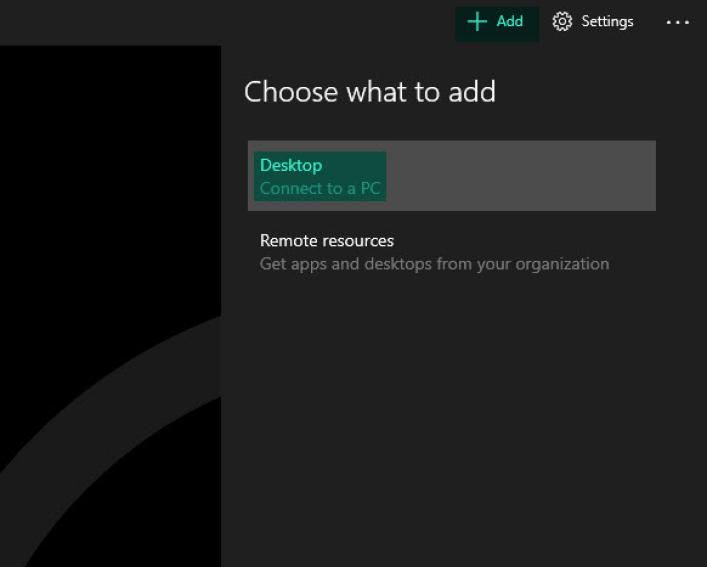
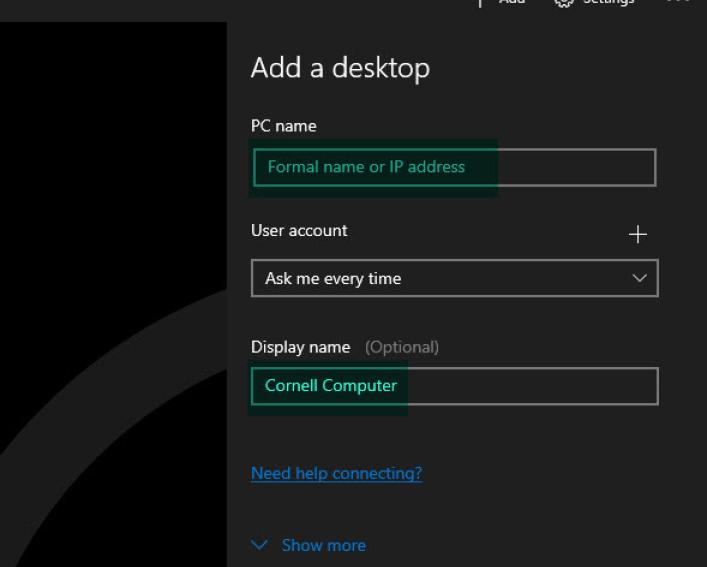
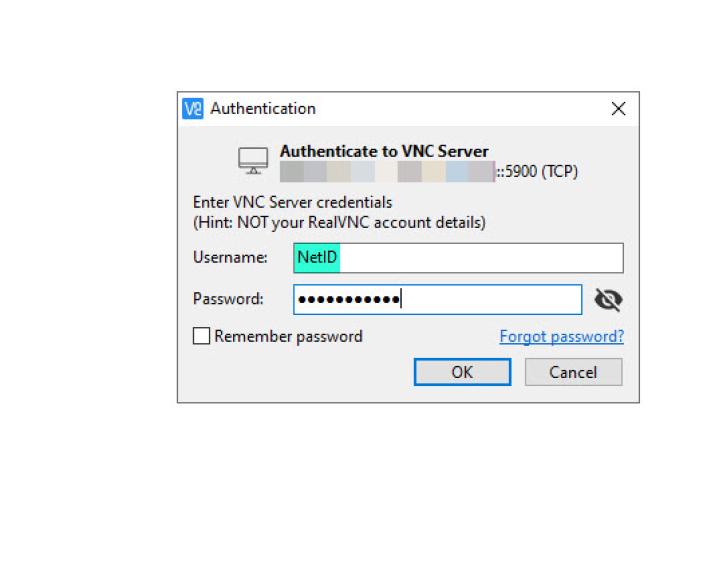
The instructions below will guide you through establishing a Remote Desktop session with a CALS OIT managed computer from a Windows PC.  Please use the set of instructions that aligns with your use-case.

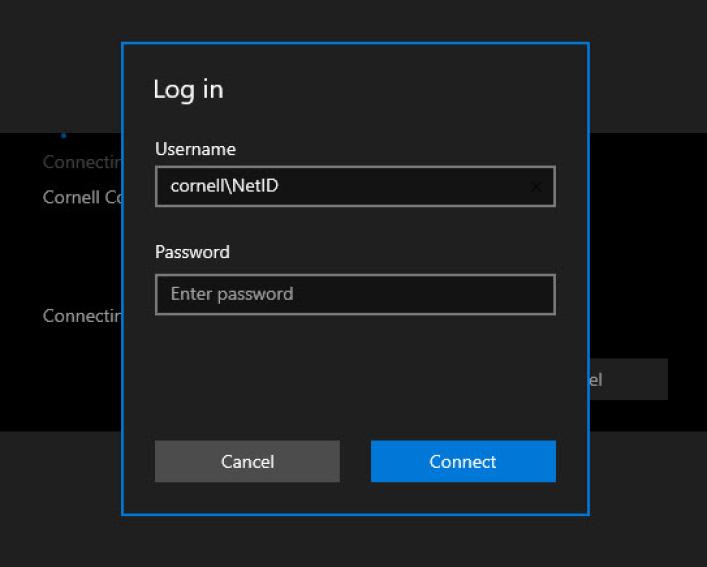
All Remote Desktop connections from off-campus require the use of CU VPN.

PC to PC

If you’re attempting to connect to a Cornell PC from another PC, follow the directions below for your version of Windows.  To find out which version of Windows you're using see our page on that.

From Windows 10 Professional/Enterprise

Professional and Enterprise versions of Windows 10 come with a built-in remote desktop app called Remote Desktop Connection.  If you're using a CALS OIT managed laptop, this is the version of Windows you have.

Step 1

From the Start Menu, type "Remote Desktop" and select Remote Desktop Connection from the list.

Step 2

Enter the IP address of the computer you wish to connect to. For Username, type "cornell\NetID", where NetID is replaced with your own. Click "Connect".

Step 3

Enter your NetID password, and optionally select "Remember Me".  Now click "OK".

Success!

You're now remotely controlling your Cornell PC.

Screen capture of Windows Start Menu and search results for Remote Desktop
Screen capture of Windows Remote Desktop Connection software
Screen capture of Remote Desktop Connection prompt for credentials.
Screen capture of successful Remote Desktop Connection.

From Windows 10 Home

The Home version of Windows 10 does not come with a built-in remote desktop app.  You must download the free Microsoft Remote Desktop app from the Microsoft Store.  After you've downloaded the free app above, follow these insturcitons.

Step 1

From the Start Menu, type "Remote Desktop" in the search and launch the app.

Step 2

Click "+ Add", then select "Desktop".

Step 3

Enter the IP address of the computer you wish to connect to and give your connection a friendly nickname.

Step 4

From the "Saved Desktops" menu, select the connection you just created.  This is where the friendly name helps.

Step 5

For Username, type "cornell\NetID", where NetID is replaced with your own. Enter your password, then click "Connect".

Success!

You're now remotely controlling your Cornell PC.

Screen capture of Windows 10 Start Menu search for Remote Desktop.
Screen capture of Microsoft Remote Desktop Windows 10 universal app
Screen capture of Microsoft Remote Desktop Windows 10 universal app configuration
Screen capture of Remote Desktop selection screen.
Screen capture of Remote Desktop authorization prompt.
Screen capture of successful Remote Desktop session.

PC to Mac / Linux

If you’re attempting to connect to a Cornell Mac, or Linux computer, from a Windows PC, follow the directions below.

First, if you don't have a Virtual Network Computing (VNC) client installed, you'll need to download and install one.  We recommend this VNC Viewer app, it's free.

After you've installed VNC Viewer, follow the steps below.

Step 1

From the Start Menu, search for VNC Viewer and launch the app.

Step 2

Enter the IP address of the on-campus Mac in the VNC Server Address field.

Step 3

You will be presented with a "Insecure Connection" warning.  This is okay to ignore.  Press "Continue".

Step 4

For Username enter your NetID.  Then type your password and click "OK".

Success!

You're now remotely controlling your Cornell Mac or Linux computer.

Screen capture of Windows Start Menu search for VNC Viewer.
Screen capture of VNC Viewer software for Windows.
Screen capture of VNC Viewer insecure connection warning
Screen capture of VNC Viewer authorization prompt.
Screen capture of successful VNC Viewer session.